
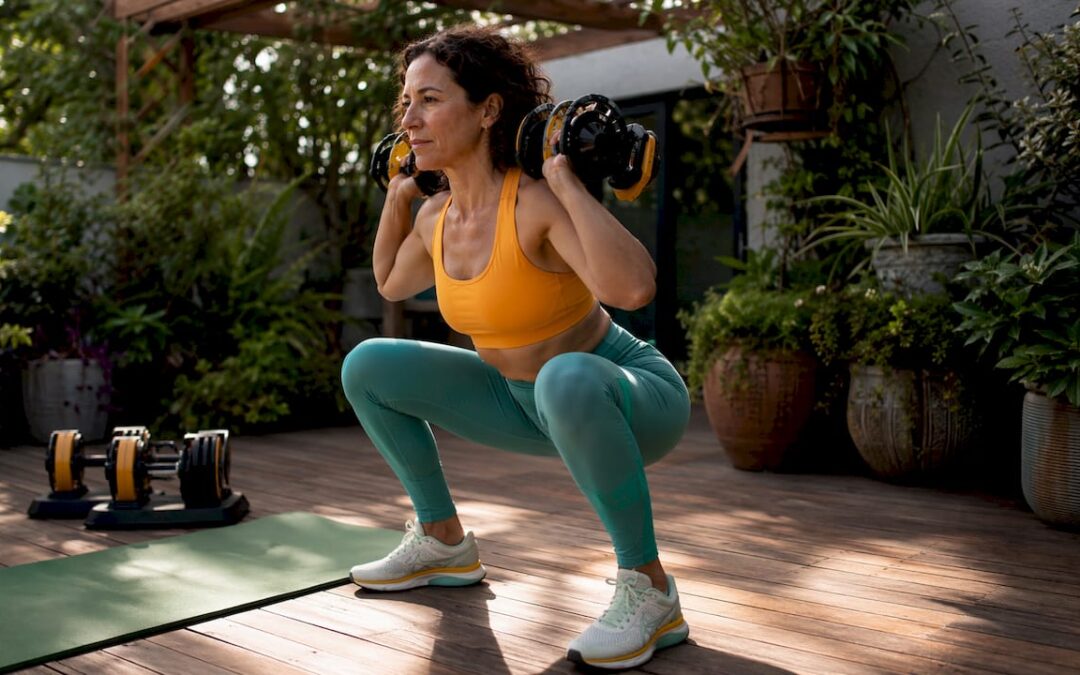
Yes, you can produce osteogenic-style bone stimulus at home. The catch: you cannot fully replicate the high-magnitude, device-controlled forces delivered by clinic systems like Osteostrong’s weekly sessions. That gap matters, but it does not make home training pointless. Here are three things to do right now:
- Get a baseline. A DEXA scan (or REMS imaging) gives you an objective starting point. Without it, you are training blind.
- Start a resistance and impact plan. Combine loaded strength work with progressive impact moves, following the progression rules below.
- Get medical clearance first if you have a fracture history, a T-score below -2.5, or any balance disorder. The ACSM and NIH both recommend physician sign-off before beginning high-load programs.
Table of Contents
- What osteogenic loading actually does to your bones
- How clinic osteogenic loading compares to training at home
- A safe, progressive at-home bone-building program
- What equipment actually helps at home
- When home training is not enough
- Safety checklist and how to get medical clearance
- Key Takeaways
- The case for honest expectations
- Osteostrong in Rancho Cordova: supervised loading when you’re ready
- Useful sources
What osteogenic loading actually does to your bones
Bone is living tissue that responds to mechanical stress. When a load compresses bone, osteoblasts (bone-building cells) detect the strain and lay down new mineral matrix. This principle, often called Wolff’s Law, means bones adapt to the demands placed on them. Remove the demand and density drops; increase it progressively and density can rise.
Three variables drive that adaptation. Magnitude is the size of the force, and it is the most important lever: research from the Bone Health and Osteoporosis Foundation notes that loads of roughly 4× body weight are needed to stimulate new bone formation. Rate is how quickly the load is applied — a fast heel drop creates a sharper strain signal than a slow squat. Frequency is how often you train, though bone responds well even to brief sessions repeated a few times per week.
The practical takeaway: walking helps maintain bone but rarely reaches the threshold needed to build it. Jumping, heavy resistance training, and impact moves do.
How clinic osteogenic loading compares to training at home
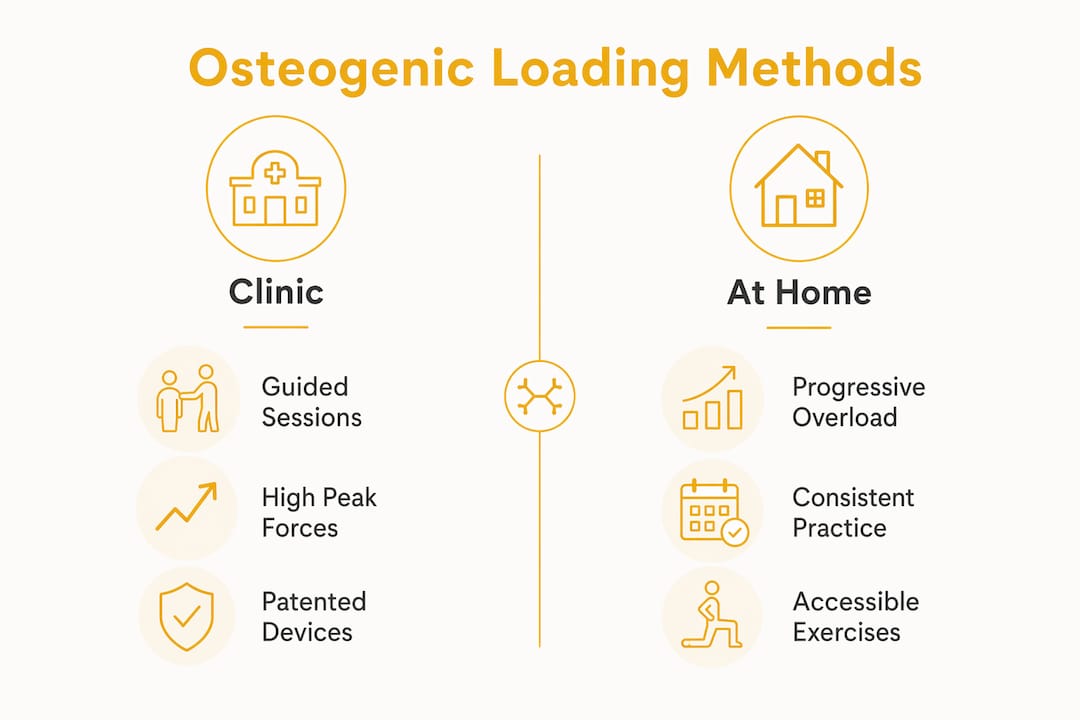
Osteostrong sessions run about 15 minutes once per week. Clients use patented loading devices that guide the body into a mechanically safe position and allow forces well above what free weights can produce, supervised by trained staff. The session is brief by design because the stimulus is intense.
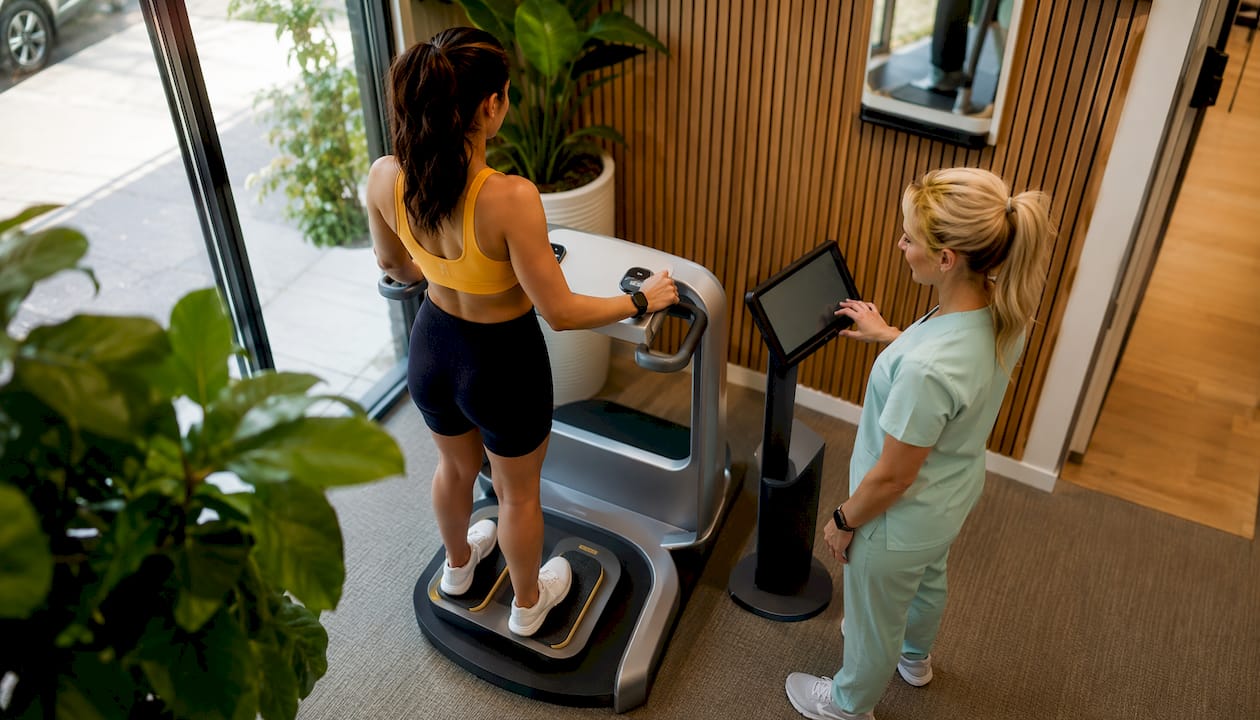
Home programs work differently. As independent wellness reporting confirms, home exercise lacks the specialized equipment needed to safely reach the peak forces a clinic device delivers. That is not a reason to skip home training. It is a reason to set the right goal.
Clinic advantages:
- Device-assisted peak forces well above free-weight limits
- Staff supervision reduces form errors and injury risk
- Consistent, measurable loading each session
- Adjunct therapies (red light, PEMF) available in one visit
Home advantages:
- No travel time or membership cost
- Train multiple days per week on your schedule
- Builds foundational strength that complements clinic sessions
- Accessible for maintenance between supervised visits
The honest framing: home training targets consistent progressive overload rather than matching device peak forces. That is a realistic and worthwhile goal.
A safe, progressive at-home bone-building program
The structure that works is: foundational resistance first, then controlled impact, then plyometrics only after proven tolerance. Clinicians recommend 8–12 weeks of preconditioning before adding higher-impact moves.
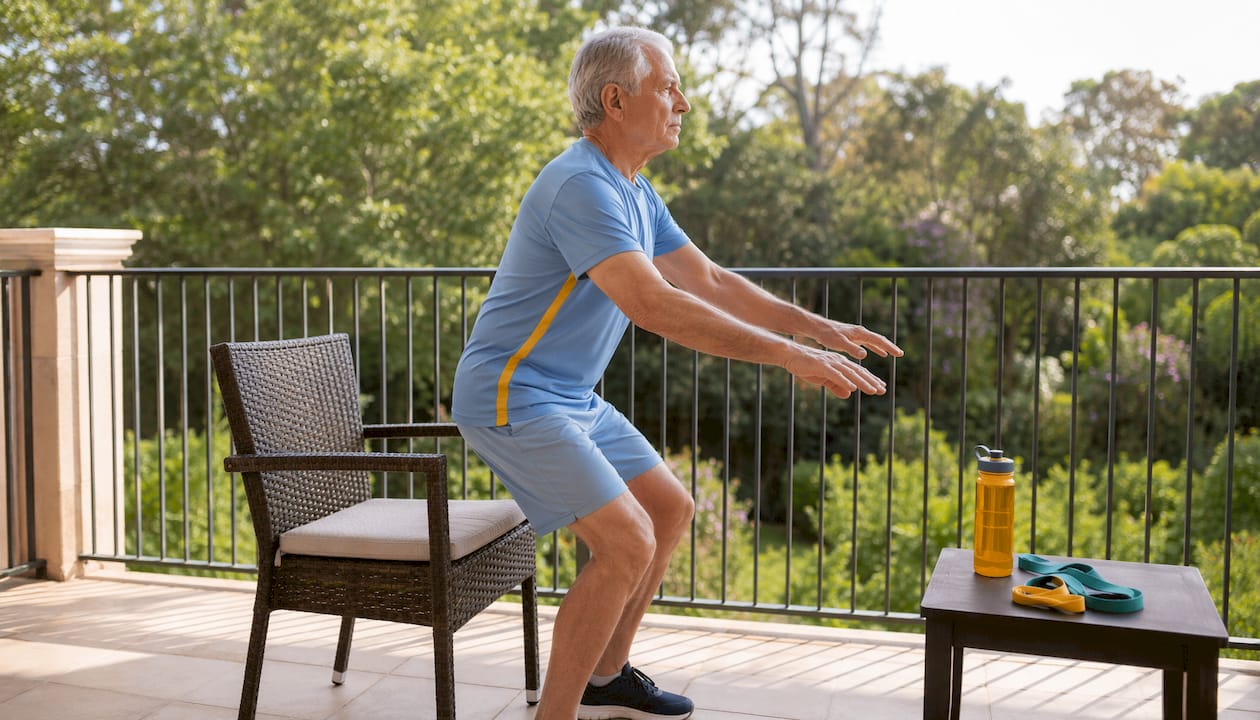
| Level | Exercises | Sets × Reps | Tempo | Frequency |
|---|---|---|---|---|
| Beginner | Sit-to-stand, wall push-up, calf raise, hip hinge | — | Slow and controlled | a few times per week |
| Intermediate | Goblet squat, Romanian deadlift, heel drop, step-off | — | Moderate; fast on impact | a few times per week |
| Advanced | Loaded squat, jump squat, box step-up, single-leg deadlift | — | Explosive concentric | a few times per week |
Progression rules: Add load before adding impact. Increase weight by the smallest available increment when you can complete all reps with clean form. Introduce impact (heel drops, step-offs) only after 8–12 weeks of foundational work. Plyometrics come last, and only when balance and landing mechanics are solid.
Form cues for key moves:
- Sit-to-stand: Drive through the heels, keep the chest tall, pause fully at the top.
- Heel drop: Rise onto both toes, then drop sharply onto heels. The impact is the stimulus.
- Loaded squat: Brace the core before descent, knees track over toes, full hip crease below parallel if mobility allows.
For tracking, keep a simple exercise log noting load, reps, and any discomfort. Functional markers (how many sit-to-stands in 30 seconds, single-leg balance time) improve faster than BMD and give early feedback. Plan a follow-up DEXA scan at 12 months to assess actual bone changes.
Pro Tip: Bone responds to novel stimuli. Rotating between squat patterns, hip-hinge patterns, and impact moves every 4–6 weeks prevents adaptation plateaus and keeps the mechanical signal fresh.
What equipment actually helps at home
You do not need a home gym. A few targeted pieces make a real difference.
- Dumbbells or kettlebells (8–30 lbs to start): The most versatile tool for adding magnitude to squats, deadlifts, and carries. Adjustable sets save space and money.
- Weighted vest (10–20 lbs): Distributes load across the spine and hips during walks, step-ups, and heel drops. Particularly useful for postmenopausal women targeting hip and lumbar density.
- Sturdy step or plyo box (6–12 inches): Enables step-offs and controlled step-ups, the safest entry point for impact loading.
- Resistance bands: Useful for hip abduction and rotator work that supports joint stability, not a primary osteogenic tool but valuable for injury prevention.
Optional: Vibration plates are available for home use, but use them cautiously. Without professional guidance on frequency and amplitude settings, the stimulus can be inconsistent. They are not a substitute for progressive resistance or impact work.
Start lighter than you think you need to. The preconditioning phase is about teaching connective tissue to tolerate load, not about hitting maximum weight immediately. Use rate of perceived exertion (RPE 6–7 out of 10) as your guide in the first 8 weeks.
When home training is not enough
Some situations call for supervised, device-assisted loading rather than a home program alone.
- Recent fragility fracture (within the past 12 months)
- T-score of -2.5 or lower with a history of falls
- Significant balance impairment or diagnosed vestibular disorder
- Inability to perform basic loaded movements safely without assistance
- No measurable progress after 12 months of consistent home training
An Osteostrong consultation typically begins with a baseline assessment, followed by a guided device session of roughly 15 minutes. Centers also offer complementary therapies including red light therapy and PEMF, which some clients use alongside their loading sessions. The combination of device-level peak forces and adjunct recovery tools is difficult to replicate at home.
Pro Tip: Bring your most recent DEXA results to your first Osteostrong visit. Staff can use your T-score and BMD data to calibrate the session and set a measurable baseline for tracking improvement.
Safety checklist and how to get medical clearance
Before starting any bone-loading program, run through this list:
- Stop and consult a physician if you have: recent fracture, uncontrolled hypertension, severe vertigo, active cancer under treatment, or acute joint inflammation.
- See your primary care physician or endocrinologist for medical clearance. Bring your DEXA results, a medication list, and any recent lab work (calcium, vitamin D, bone turnover markers).
- Ask for a physical therapy referral if you have balance problems or significant deconditioning. A few supervised sessions on therapeutic exercise progression can prevent early injuries that derail the whole program.
- Older adults with fall risk: complete at least 4 weeks of balance and stability work (single-leg stance, tandem walking) before introducing any impact moves.
The goal of clearance is not to get permission to train hard. It is to identify the specific contraindications that would make certain exercises dangerous for your situation.
Key Takeaways
Home osteogenic training builds real bone stimulus through progressive resistance and impact, but clinic device-assisted loading reaches force levels that home equipment cannot match.
| Point | Details |
|---|---|
| Home training works, with limits | You can create osteogenic-style stimulus at home; you cannot match clinic device peak forces. |
| Precondition before impact | Spend 8–12 weeks on foundational resistance before adding heel drops or plyometrics. |
| Baseline imaging matters | Get a DEXA scan before you start and repeat at 12 months to measure actual BMD changes. |
| Medical clearance is non-negotiable | Recent fracture, T-score ≤ -2.5, or balance disorders require physician sign-off first. |
| Osteostrong fills the gap | For supervised, device-assisted loading plus red light and PEMF, Osteostrong sessions run roughly 15 minutes once per week. |
The case for honest expectations
Most people underestimate how long bone remodeling takes and overestimate what they can feel. Strength gains show up in weeks. Measurable BMD changes take 6–12 months, and only a DEXA scan will confirm them. The temptation is to chase intensity, to add heavier weights or bigger jumps faster than the connective tissue is ready for. That is where injuries happen, and an injury that sidelines you for three months erases more bone stimulus than a cautious progression ever would.
Home programs are genuinely valuable, especially for people who cannot access a clinic regularly. But the value comes from consistency and steady load progression, not from trying to simulate device-level forces with a pair of dumbbells. If your T-score is already in osteoporosis range, home training is a complement to supervised care, not a replacement for it.
Osteostrong in Rancho Cordova: supervised loading when you’re ready
Home training gets you far. When you want the force levels, the baseline assessment, and the guided progression that a device-assisted session delivers, Osteostrong is the next step. Sessions run roughly 15 minutes once per week, using patented osteogenic loading equipment calibrated to your body. Centers also offer red light therapy, PEMF mats, BioCharger, and hydromassage, so you can address recovery and bone health in a single visit.
Osteostrong serves clients in Rancho Cordova and surrounding areas. If you have been doing the home work and want to see where your bone density actually stands, a baseline assessment at the center gives you the objective data to build on. Book a complimentary consult at Osteostrong Rancho Cordova East and bring your most recent DEXA results if you have them.
Useful sources
| Source | What it covers | Relevance |
|---|---|---|
| Bone Health and Osteoporosis Foundation — Osteogenic Loading | Load thresholds needed for bone stimulus; 4× body weight guideline | Core science behind osteogenic loading |
| Tom’s Guide — What is osteogenic loading? | Home vs. clinic limits; progressive overload framing | Sets realistic expectations for home programs |
| Wini Linguvic — Strength training for women with osteoporosis | Sample routines, rep ranges, foundational exercises | Practical program structure |
| Wini Linguvic — Osteoporosis exercises | Preconditioning timeline; staged progression | Safety and progression rules |
| OSTEO-GAINS App (App Store) | Home program with DEXA tracking guidance | Tracking and program structure reference |
| Osteostrong — Main site | Session format, frequency, adjunct therapies | Clinic model description |